
This post is dedicated to the memory of Kate Fox. You will not be forgotten.
This is the first post in a series about working with Doom in Unity. You can find the second part here, about building a level.
Last week I decided to once again attempt to import levels from the Doom engine into Unity. There are many reasons why this interests me, from being able to use the fantastic tools available to the Doom community to help develop my games (such as Slade or Doom Builder), to using the geometry in combination with modern lighting and rendering tools.
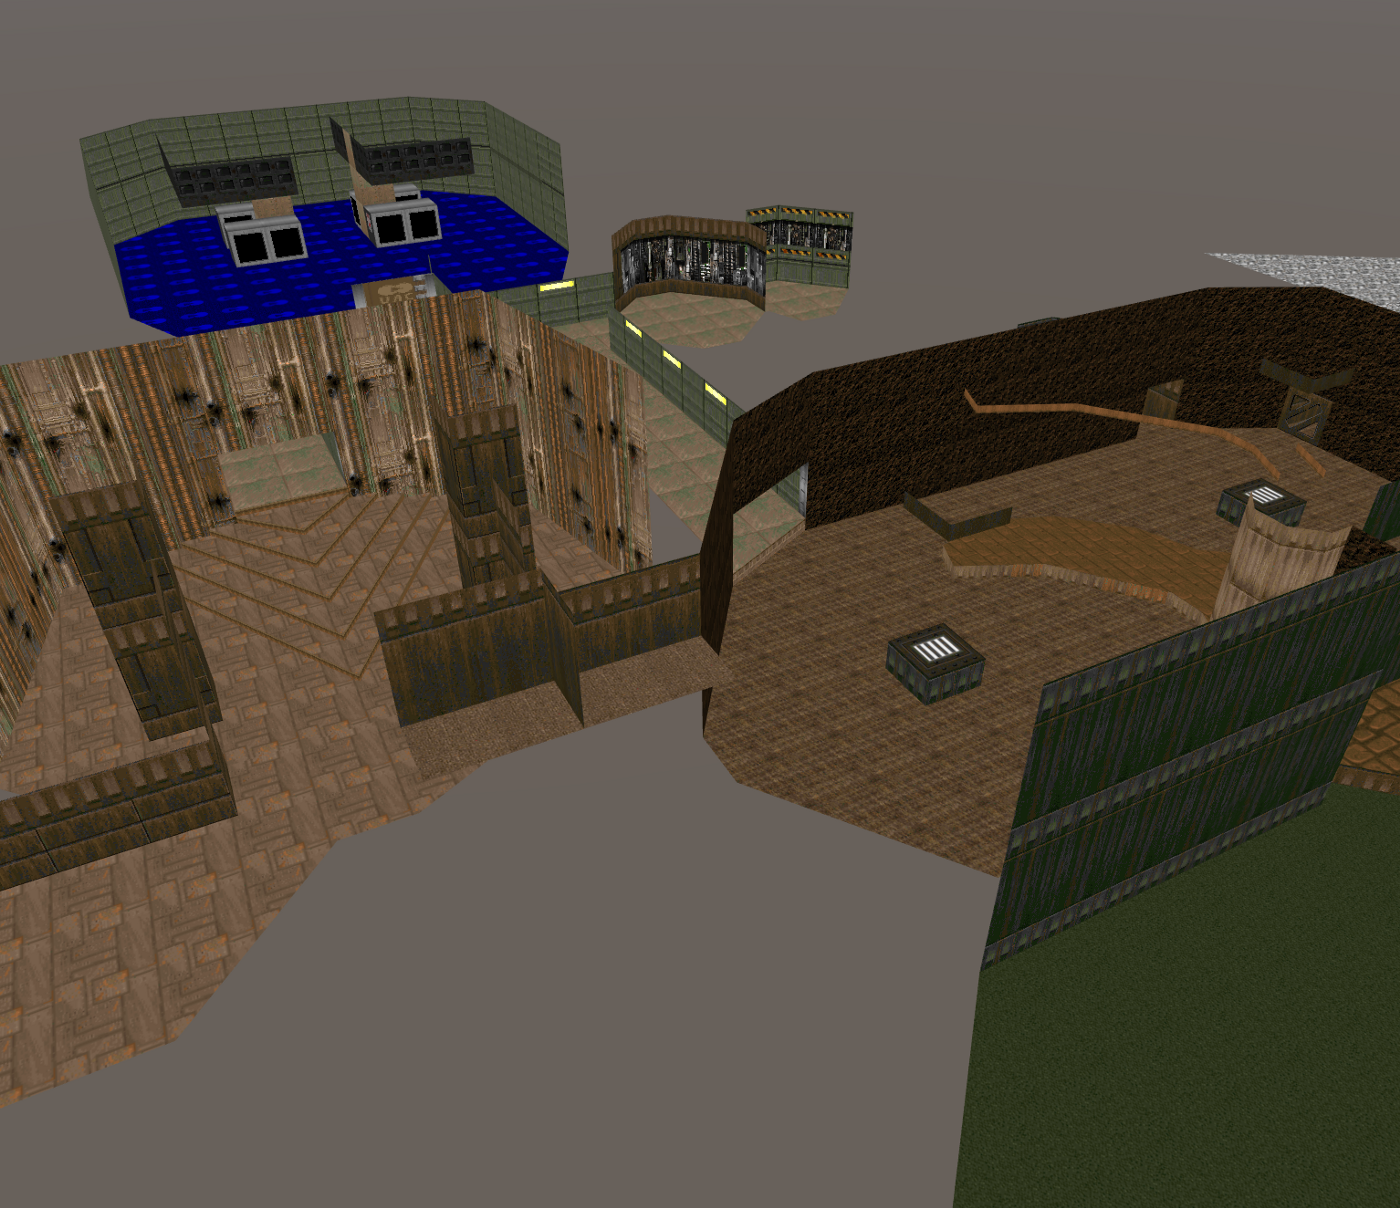
However, as quickly as I started, my plans expanded and I had too many things I wanted to build using this as a base. I decided to split each out into a separate task and work on them individually. The first was to tackle the Software Renderer.
Doom was written back in the early 90s when graphics cards didn’t know what 3D was, and everything was drawn on the CPU. This resulted in the now infamous feat of technology that resulted in the iconic renderer used in the game. To talk about how I replicated the way it looks, I’ll first go over the steps the game uses to render a texture to the screen.
Doom only uses 256 colors to render the game, each stored in the “PLAYPAL”. This is just a small file that stores a list of colors, and the rest of the game just uses indexes to refer to which color they want. (The palette can also be swapped out at runtime to create full-screen effects such as flashing yellow when you pick up an item)
The trouble with using an indexed palette is that you cannot apply transformations to the color while/before it is rendering. For instance if you wanted to create a shadow, you can’t just say “make the red color darker”. To solve this problem, iD uses a lookup table called the Colormap. This is a list of 32 mappings of palette indexes to other palette indexes, to simulate getting darker.
So to render a pixel to the screen, the engine will get the palette index of a graphic, translate it to another palette index using the Colormap and light level of the graphic, then ask the palette what color to render to the screen. This is a simple but very effective approach capable of some fantastic looking lighting.
More importantly, it can be accurately replicated with a shader.
To start with, I just used the palette to generate images from the texture files, which I can use with any normal shader. To make sure the Doom lighting effect was accurate I used an Unlit shader, but this approach means you can use any modern lighting approach in conjunction with the levels. There is a lot of cool potential with this, but it looks nothing like Doom.
When approaching the colormap/palette system I first considered using these textures to pick from the colormap and palette, but I realised there was a smarter approach: Instead of rendering the texture with the palette, I could just write the palette index to the Red channel, and read that value with a shader to pull colors.
Using this, I could then create a simple shader that used the palette lookup table to render the correct color to the screen:
float indexCol = tex2D(_RenderMap, i.texcoord).r;// add half a pixel to the index to fix interpolation issues
float4 col = tex2D(_Palette, float2(indexCol + (.5/256.0), 0.0));return col;
From here, I need to apply the brightness of the sector to the lookup, which means first passing the value to the colormap, then passing that value to the palette.
float indexCol = tex2D(_RenderMap, i.texcoord).r;// Map a brightness value (0.0 - 1.0) to a colormap index (0 - 32)
// The colormap has 34 tables, but only the first 32 are used for lighting
float brightnessIndex = floor(_Brightness * 32.0) / 34.0;float colormapIndex = tex2D(_Colormap, float2(indexCol + (0.5/256.0), brightnessIndex) ).r;// add half a pixel to the index to fix interpolation issues
float4 col = tex2D(_Palette, float2(colormapIndex + (.5/256.0), 0.0) );return col;
But we aren’t quite there yet! Doom uses another simple yet effective lighting technique: textures get darker the further away they are. This is responsible for a lot of how dark and atmospheric Doom feels. For this we will need to read the depth of pixels to apply a new transformation.
My first approach was to try and use a Depth Texture, but after many hours of false starts with this approach, I found I could just used the transformed Z value of a vertex’s position to get it’s depth.
v2f vert (appdata_base v)
{
v2f o;
o.vertex = UnityObjectToClipPos(v.vertex);
o.depth = o.vertex.z;
o.texcoord = TRANSFORM_TEX(v.texcoord, _RenderMap);
return o;
}
Now with some tweaking of the range, I could modify the brightness value further with the depth value and get a new modified colormap index to use. I tried to use the same calculations as used by Eternity’s Cardboard renderer, to get an accurate representation. The code I referenced can be found here.
fixed4 frag (v2f i) : SV_Target
{
float depth = saturate(1.0 - (i.depth) * 0.1);float li = (_Brightness * 2.0) - (224.0 / 256.0);
li = saturate(li);
float maxlight = (_Brightness * 2.0) - (40.0 / 256.0);
maxlight = saturate(maxlight);
float dscale = depth * 0.4;
float odepth = saturate(li + dscale) + 0.01;float indexCol = tex2D(_RenderMap, i.texcoord).r;
float colormapIndex = indexCol;
float brightnessLookup = (floor((1.0-odepth) * 32.0)) / 32.0;float paletteIndex = tex2D(_Colormap, float2(colormapIndex + (0.5/256.0), brightnessLookup * (32.0/34.0)));float4 col = tex2D(_Palette, float2(paletteIndex + (.5/256.0), 0.0));return col;
}
When this is stacked up side by side with the Doom engine, it is hard to tell the difference! There are still improvements to be made; I can more accurately replicate the lighting values by mapping the values correctly instead of manually tweaking it til it looks correct. However, this approach has proved to be incredibly effective, and I’m very happy with how it came out.
One of the cool features of using this shader is that (for the first time?) you can now view the world of Doom using a software-style renderer, and *look up and down*.
Now onto the next thing! This project has been incredibly rewarding so far, step by step building Doom from scratch in Unity. I’ve been tweeting along the way in a thread here, but I hope to share more posts like this describing in detail the techniques used for various parts of it’s development in future, including how I tackled the map triangulation. Keep an eye out for more!
Thank you for reading! You can follow the continued development of my Doom project on my twitter: twitter.com/jmickle_, and you can support continued of this and other projects through Patreon. 💜