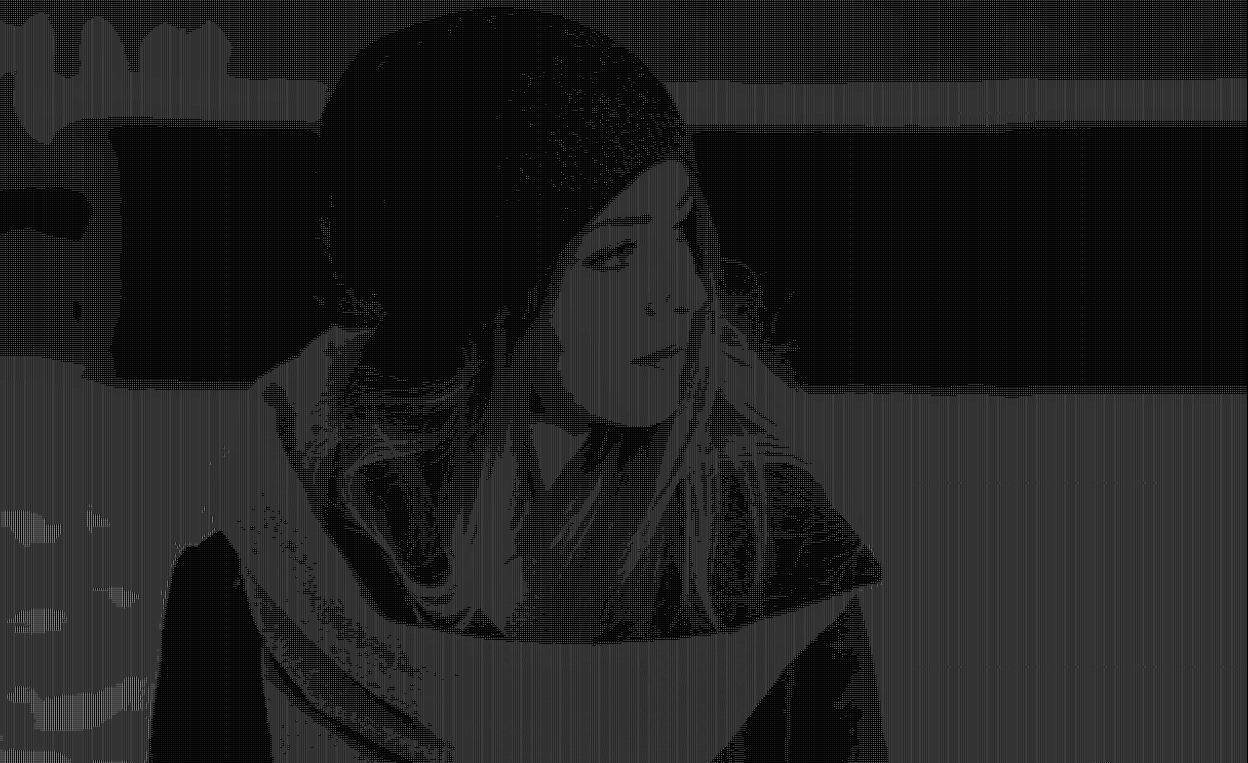
A brief guide on how images work and how the pixels can be represented as ASCII characters — code example included

I’m sure many of you have heard of ASCII art, a graphic design technique that uses the printable ASCII character set to compose pictures. The simplest form of this art are emoticons such as :-) or :-3. But can you represent a more complex image with just printable ASCII characters?
What an image actually is
First of all, is important to clarify how an image is represented in computer systems. Pictures are usually stored in formats such as .png or .jpg on the disk. All these file types have a similar structure: they’re roughly composed of an header and a data section. The former stores useful information about the image such as its format signature, whereas the latter stores the actual pixel data.
The actual image you see is composed of pixels, the smallest addressable element of a raster image which we’re all familiar with. They’re usually represented as a set of channels, also referred as colors. Among the most common color values there are the classic RGB (Red Green Blue) and RGBA (Red Green Blue Alpha). The difference between the two is that the latter has an additional channel, called “alpha”, that specifies the image opacity. RGBA is what we’ll be working with since it can also be used to represent a void background.
How to translate pixels to ASCII
Now that we’ve seen how images are represented, it’s time to talk about how a pixel can be transformed into an actual ASCII character. To understand this, we must first take a look at pixel color intensity. This value refers to the sum of all the pixel’s channels, divided by the sum of the maximum values the channels can have (in this case 255).
From now on I’ll be using Python for the code examples for its simplicity and readability, but feel free to use any technology you prefer. I’ll also be using the
PILimage library to keep the code as simple and abstract as possible.
The first line imports static types needed for clarity. If you don’t know what they are, check out my article on type hints.
In this code snippet I’ve defined a new Pixel type, a Tuple of four integers each representing one of the channels in a RGBA pixel. I’ve then defined a function that extracts the given pixel’s intensity. It first sums all the channel values and then divides the result by the maximum value a pixel’s channels can reach to effectively get an intensity percentage.
Once we’ve calculated the pixel’s intensity, it’s time to map it to an ASCII character. For this we have to define a character set we’ll be using to represent the pixels.
The character set is ordered from the lightest, the space, to the heaviest, the @. This means that the more intense a pixel is, the more space its corresponding ASCII character occupies.
The function maps the given pixel intensity to a character in the set. The result of intensity * len(CHARACTERS) is rounded since indexes must be integers.
Now, lets glue these code snippets together with a simple script:
Viewing the ASCII art
Once we have obtained an ASCII string representation of the image, we have to find a way to view it graphically. The easiest way to to that is to print it to the console. Since images are usually organized in rows of pixels, when printing them we must also use newline characters accordingly.
Here I’ve written a simple function that prints an ASCII art to the console and how it can be called from the main function:
Let’s see this script in action! We’ll convert a simple image like this one:
Assuming we’ve called the image file image.png and the script converter.py, the command would look like this:
python converter.py image.png
# Or if you are on a Unix-like system and the script is executable
./converter.py image.png
This will produce the following output to the console:
As you can see the picture gets a bit distorted due to the spacing between the lines. This is a limitation of many terminal emulators, but there’s an easy solution.
Visual improvements using HTML
We’ve already seen how to convert an image to its ASCII representation, but it would be nicer of you could save the result into an actual file. But why HTML?
- It’s supported by all web browsers.
- You can easily zoom in and out depending on the scale of the image.
- It can be still composed of only ASCII characters.
Let’s write a function to save the resulting image into an HTML file:
Now that we’ve completed the our image converter, let’s take some time to look at a few cool pictures and their ASCII version:
Here’s the link to the project’s GitHub repository I’ve based this article on. I’ll also directly include the source code in the gist below in case you were short on time:
Conclusion
In this article you have briefly learnt how image files are structured and, most importantly, how to convert the single pixels into their corresponding ASCII character.
This kind of ASCII art could be used, for example, as design elements in a web page. ASCII image conversion could also be the base for some cool photo filters and video effects to be used on social media. Moreover, even if you couldn’t make use of this technique, it would still be a nice coding exercise.
I hope you enjoyed this article and learnt something new along the way,
Thanks for reading!
