
In today’s market, more and more photography clients are asking for video. Do you have what it takes to shoot quality photo and video work? There is more to it than flipping over to video mode on your camera.
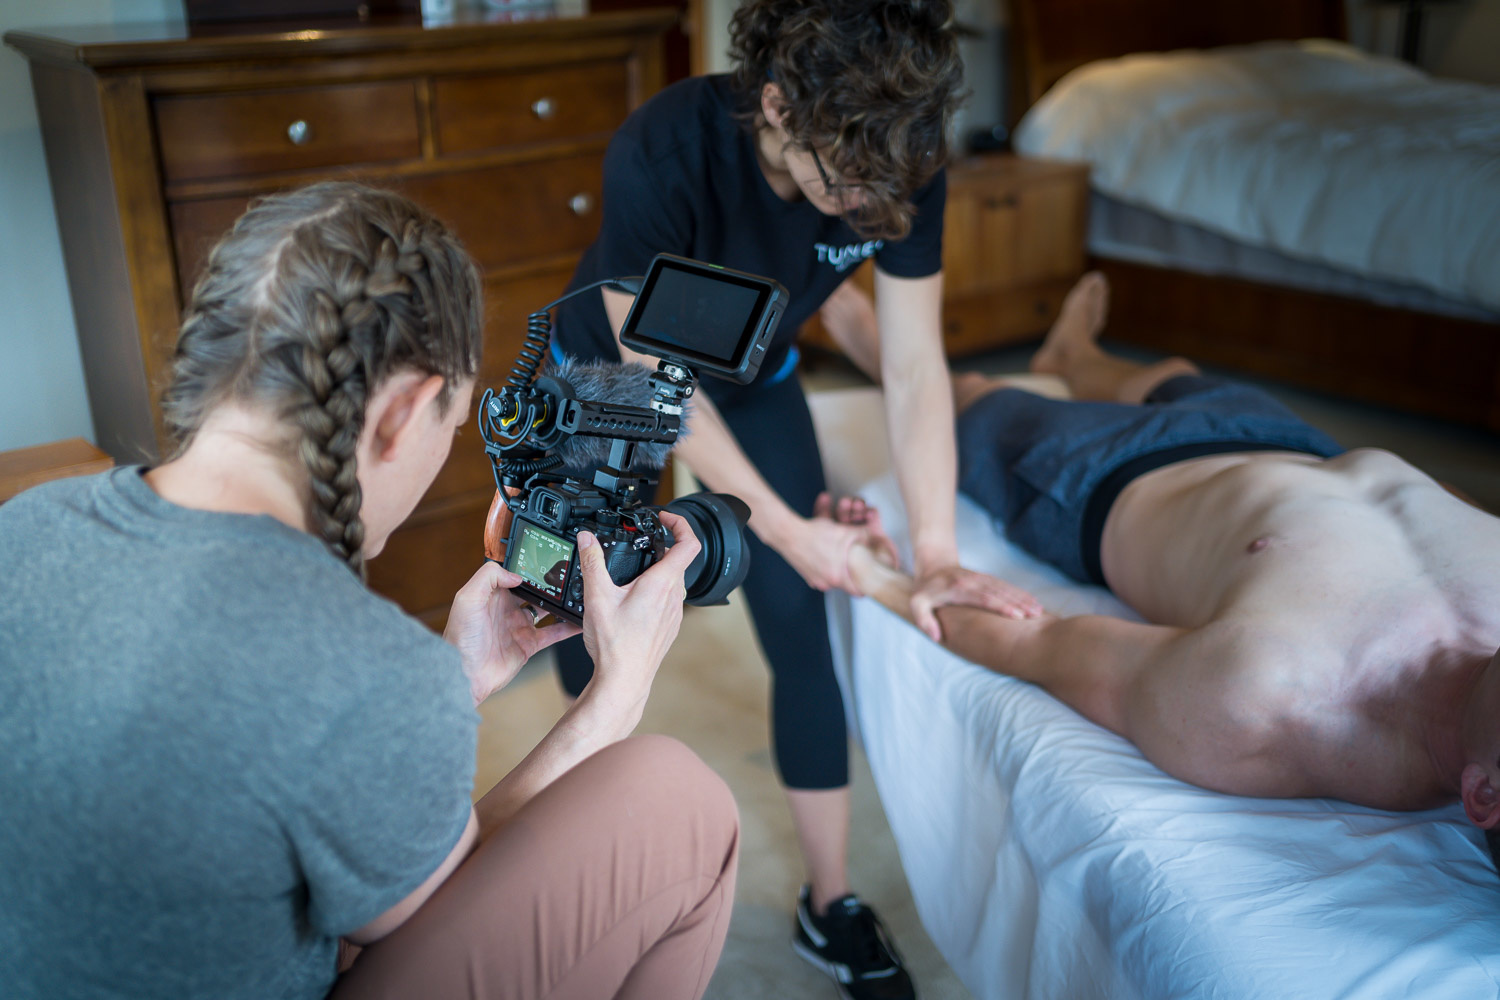
As more and more photographers transition to becoming hybrid shooters (myself included), the burden of knowledge is ever-growing. Maybe you’re not making feature films, but there is a middle ground of shooting high-quality photo and video content. Before 2020, I had dabbled in creating video content, but I was not focused on it because I was directing my energy to photography. When the pandemic struck and clients were canceling shoots left and right, I decided it was time to diversify. Being able to shoot video was one of the things that kept my business alive in 2020 and has been a strong source of work in 2021.
I’ve learned a lot over the last two years, and I wanted to share some things that I think might jumpstart your learning. Below are my six tips that photographers interested in shooting videos should consider.

1. Pre-Production Is King
This simple and boring tip, if taken seriously, will save you so much stress, headache, and time on the day of your shoot. Even for a simple video, taking 20 minutes to drill down what you’re trying to capture will be well worth it. Don’t just “wing it” and grab a few clips after each photo series.
My process for pre-production planning is relatively simple. This step is usually just a glorified note-taking session with some sketching at the end.
I start with a few bullet points outlining the story and break it down into a shot list. A good rough starting point is to have somewhere between three and seven shots of each element of the story. You want one wide, medium, the close, and unique angle of the subject and often some variations on each of those.
Say, for example, I’m creating a short video about a product. I would want a scene-setting wide shot (often drone footage works great), a medium shot that gives context, a close shot that shows some details, and a unique angle that shows something unexpected like a first-person view or a shot through something that gives it an interesting look. These shots may not all end up in the final edit, but it’s worth having them so that you can be flexible when it comes to editing.
Once I have a shot list written, I’ll often spend some time sketching my vision for each of these frames (or at least the important ones). I often rely on my visualization skills from photography, then figure out how to add motion to some of the shots. This leads to identifying the type of shot that I’ll be creating and what equipment will be needed (i.e. drone, tripod with pan head, macro lens, gimbal, etc.). Once I have all the visualizing, sketching, and list-making complete, I’m able to pull everything together into one document that gives me a nice overview of the production. If you fail to plan, you plan to fail. Make sure you don’t miss this critical planning stage.
2. Set Clear Boundaries in Writing
Just as you might expect with photography clients, having clear communication with your video clients is critical to ensuring you avoid sticky situations. For example, if you only want to do one round of revisions, make sure you state that clearly in the contract (or specify an hourly rate after the first round). If you expect them to provide graphics for your finished video, make sure you include that in your communication. Having a detailed outline of what you will and will not provide along with a timeline, quote, and payment schedule is essential. You can imagine the ways that things can get out of hand if not addressed at the start of the project.
Many beginners are so excited to get started when a client sends the “I want to work with you” message, it can be tempting to skip the contract. Over the last 10 years, I can think of more than one occasion where not having a contract ruined a client relationship. It’s always better to outline all the details of your project so that everyone has clear expectations. Doing this at the start will also show that you are serious about your work and communicate that you are organized and professional. Most of the time, everything will work out just fine, but when it doesn’t, having a contract can be the one thing that prevents you from ruining a relationship.
3. Audio Is Crucial
Yes, you’ve probably heard this before, but it’s true. Everyone talks about how important audio production is, but not many people go further to explain what you should do about it. This ties back to tip number one, planning. If audio is crucial to a quality video, you need to plan how you’re going to:
- Capture high-quality sound
- Have a backup source (or two)
- Source music or sound effects
- Plan to sync audio and video
- Fit the music to the length of the video
Thinking through the above items will help you significantly in the editing phase. First off, having a high-quality audio source captured at the correct levels (not so loud that it clips or so quiet that it can’t be heard) will make things so much easier. Additionally, making sure you have a backup source for when there is a random audio blip at the exact wrong moment will ease saving the edit. I usually run at least three different audio sources for critical productions. Having a good source for music and sound effects will also be very helpful in finding the right song or sounds for your video. There are a ton of online sources, but make sure you know the terms for how the music can be used. This ties back to step two, setting clear boundaries with your client (e.g. “no, you can’t have the latest hit song in your video with a total budget of $1,000”).
When it comes to editing, make sure you have a plan to sync audio and video if they are recorded separately. This can take a significant amount of time if you plan to “figure it out later.” Lastly, it often helps to select a few songs before you even start creating the video so that you have an idea of how much footage you’ll need to fit. If you’re only making a 30-second video, finding a short song with the right beat and feel can be tricky, so plan. You can always trim a song down, but often, the start and end of songs are interesting, and you can’t always have both if you just chop the music.
4. Have a Plan for Editing
As I’ve mentioned several times now, having a plan for editing is essential. This starts with pre-production and planning for your sound design, but it also expands to knowing the feel and flow of an edit before you begin. For example, is this a slow cinematic edit or a fast-paced high-energy commercial cut? Planning and getting input from your client will help you finish the project with fewer revisions.
On the more technical side, make sure you know what you’re capturing and how it will be edited. Cameras are getting more advanced, but often, we forget to upgrade our computers to match the camera equipment. It’s great if you can capture 4K footage at 120 frames per second, but can your computer handle that? Most can’t. This is where you can use things like proxies (low-resolution temporary video files) to help reduce the load on your computer. Another common issue is recording footage on different types of cameras. It’s great if you’ll be incorporating drone and GoPro footage, but you need to have a plan to make the color and other qualities look seamless in the edit. This can be done by practicing matching the color and look of the footage with some test shots.
Lastly, I recommend watching lots of other videos and breaking down the edit to see what sort of tools the creator used. Are they using a lot of speed ramping or slow motion? Do they have a lot of really clean-looking tripod shots? Are the in-camera transitions done well? All these small elements can be incorporated into your production plan to make the final edit look the way you want.
5. Get Some Basic Graphics Help
Nothing brings down the production quality than a poorly designed title right at the front of a video. This is one tip I’m lagging on. I haven’t taken the time to learn much more than basic title creation, so I often rely on others to help with titles and animation. If you don’t have the skills to design high-quality animated graphics, keep it simple and rely on the basics of graphic design. There are some clean basic templates available in Adobe Premiere Pro, but if your client is expecting animated graphics, I recommend outsourcing this portion of the project. Getting some help can save you time and lots of headaches!
6. Keep It Simple
This has been my motto for a long time with photography, and it applies equally well to video projects. I’m often guilty of trying to achieve the best results, which leads me to the most complicated setups. When I take a step back, I realize the amount of time and energy I could save by keeping things simple, which would allow me to reserve my brainpower for creativity instead of having the perfect filters, LUTs, stabilizers, etc.
When it comes down to it, shooting in the most basic color profile on a tripod or monopod will result in you focusing on things that arguably matter more, such as perspective or lens selection. I recommend that you slowly work up to a fancier setup by mastering one thing at a time. I will often pick one element of the process to improve with each project. Whether it is a new piece of equipment or a new color profile on my camera, choosing one thing to master will keep most of your creativity directed toward the big picture, giving you better overall results. If you only take away one tip from this article, let it be “keep it simple.”