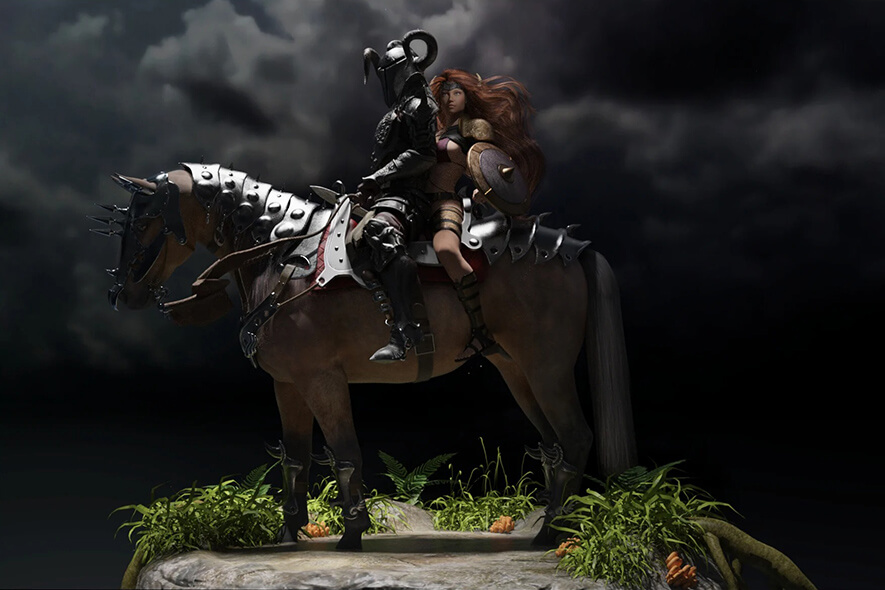
Daz Studio is a free software that anyone can use, whether they have 3D sculpting experience or not, to create custom models for everything from video game development and animated movies to 3D printing. Once you create the model you want to print, it’s easy to transfer to Blender to add the finishing touches.
Need help making a custom 3D model in Daz Studio? Start here first. This will take you through the basics of how to download Daz Studio, create a model, and use the Daz to Blender Bridge to port your model into Blender. (Make sure you download and install Blender too!)
3D Print with Blender in 4 Easy Steps
Now, let’s get into what you need to do to prepare your model for 3D printing. Complex shapes may need some extra care and attention to make sure your 3D printer can accurately create the model, especially if you want to print a figurine using Daz 3D’s vast array of customizable characters.
Step 1: Enable the Add-on
In Blender, go to Blender Preferences and click on the “Add-ons” tab. Enable the Mesh: 3D Print Toolbox add-on. This will allow you to properly set up your model for printing.
Step 2: Import Your 3D Model & Make Changes
Open your 3D model in Blender and make any necessary changes. Use the Mesh: 3D Print Toolbox to quickly check if your model is good to go. Do this by selecting the item and pressing N on your keyboard to make the toolbar appear. Select the add-on and click “Check All”. Take a look at the results, focusing specifically on whether or not the model is manifold (which just means that it doesn’t have any holes and is watertight). If there’s a 0 next to “Non Manifold Edge”, you’re good! If not, your model needs a bit of tweaking.
Besides making your model manifold, there are other changes you may need to make. This includes the following:
- Adjust the dimensions – Blender has its own digital scale that measures size, but it doesn’t translate to real-world dimensions. Blender’s 1.0 unit measures about 1 meter in real life, so unless you want a lifesize figurine, you probably don’t have access to a slicer or the resources to print something that large. To change this, go to the Scene Properties tab, then click Unit System and Metric. Next, adjust the Unit Scale accordingly so your model is the proper size for what you want to print.
- Create additional support – Depending on what you’re designing, your figure may need additional support so it stands up and doesn’t fall over once printed. If you’re printing a character, a simple, round base at the bottom of the feet will suffice. Do this by pressing Shift and right-click on the bottom of the model to place the 3D cursor there. Then, press Shift + A and click Mesh and Cylinder to place a cylinder where the cursor is. If you enter edit mode, you can adjust the cylinder to your liking.
- Ensure the model is manifold – You can manually make the model manifold, but the easiest way to do it is to use the Mesh: 3D Print Toolbox. After clicking “Check All” and inspecting the results, select “Make Manifold”. If you needed to add a support, you’ll also need to join the cylinder and figure into one mesh. Simply select both in Object mode and press Control + J. Ta-da! Your model is now manifold.
Step 3: Save Your File
When you’re ready to print, save your model as a .stl and .obj. A .stl file is typically best for 3D printing the model in a single color, and an .obj file is normally used when printing multiple colors.
Step 4: Start 3D Printing
This is it! Import your file to a slicer and start printing away. You put in a lot of work to get this model ready, and now you can enjoy the fruits of your labor.
Please enable JavaScript to view the comments powered by Disqus.


You must be logged in to post a comment.